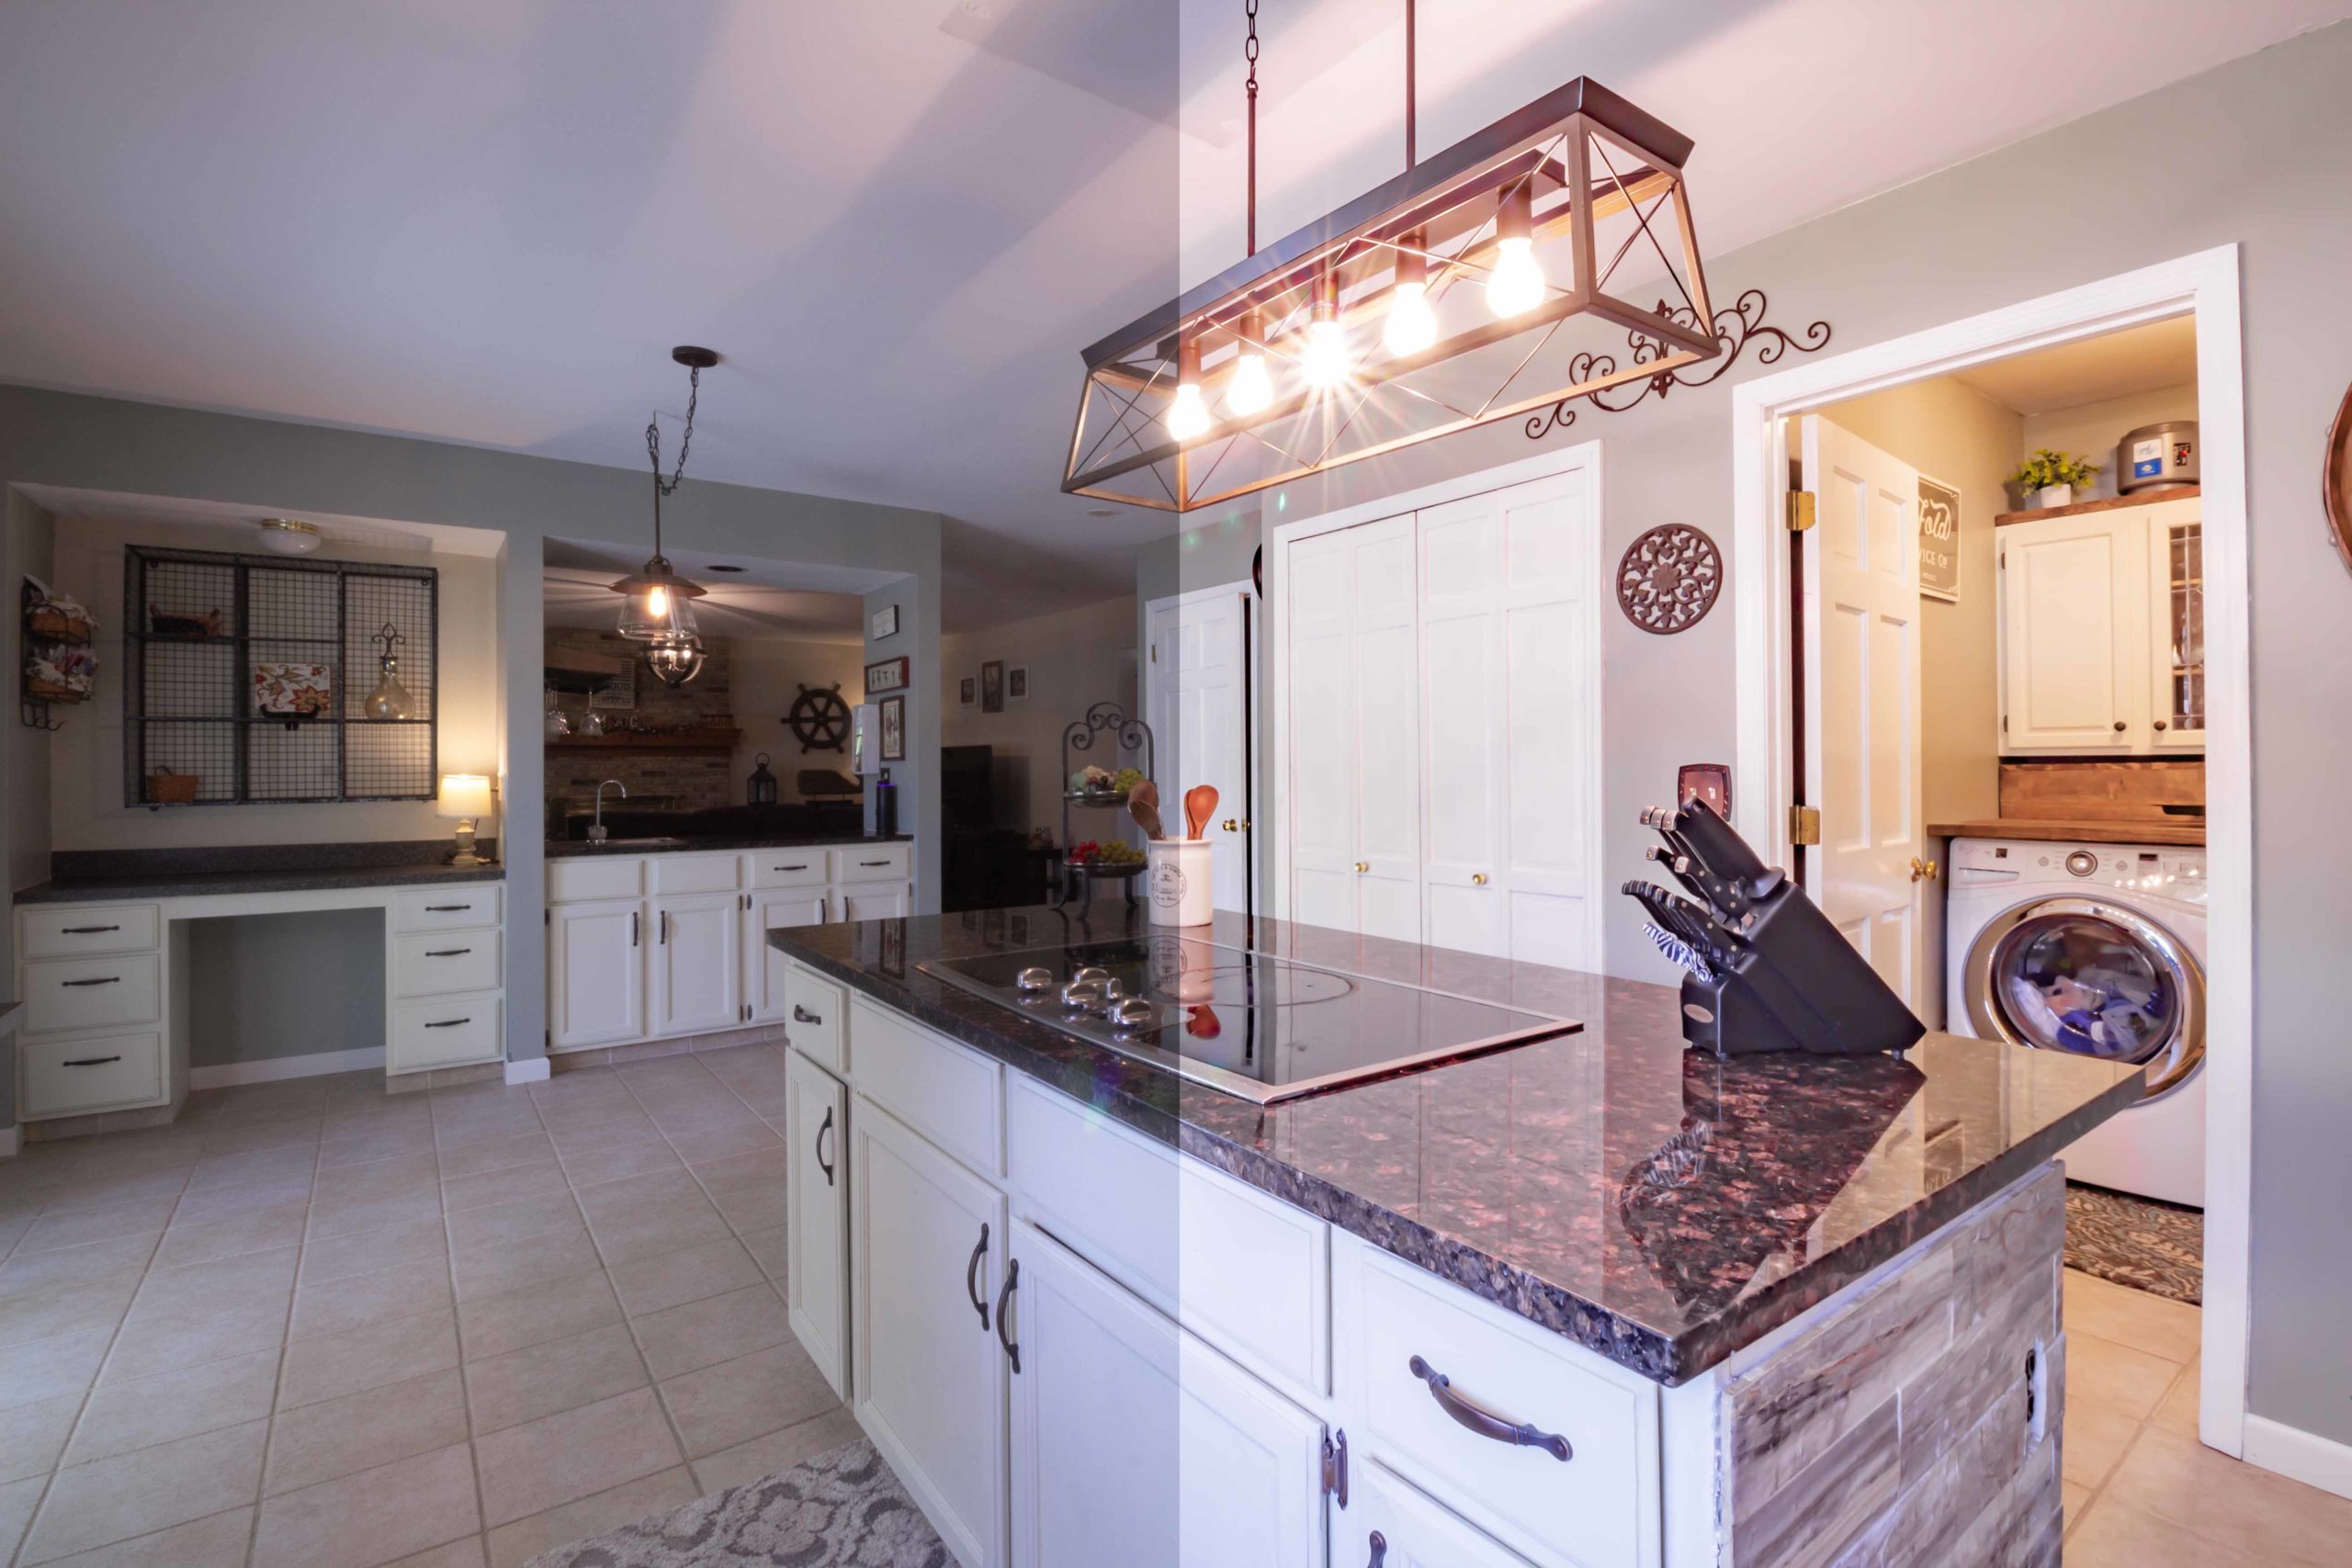
27 Jul Adobe Lightroom Magic: 1 Minute Real Estate Photography-Increase Brightness Later
July 27th, 2021
By Joey Vosevich of the Hermann London Social Media Team
If you have never used Adobe Lightroom before, here is a quick video showing you how magical it is, especially for real estate photography.
I shoot with a DSLR camera on a sturdy tripod using the automatic camera setting called TV, which stands for TIME VALUE. TV is also referred to as SHUTTER PRIORITY and it controls how long the shutter stays open while adjusting all the other settings automatically.
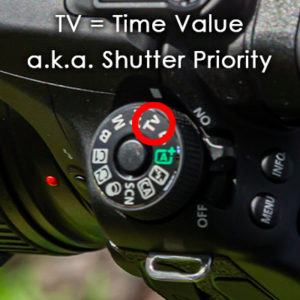
The TV setting
I also make sure I am shooting in the RAW file format instead of JPEG. RAW is the digital version of a film negative and contains a lot more color data than a JPEG.
While taking a photo, if I look at the LCD screen on the back of my camera while adjusting the little wheel that controls how long the shutter is going to stay open, I can see a live preview of what the picture is going to look like. I adjust the TIME VALUE until the lights in the house are not completely washed out and I can still make out the shape of the lightbulbs and lampshades.
A sturdy tripod is very important because the shutter may need to stay open for up to 30 seconds straight and any shake at all will ruin the photo.
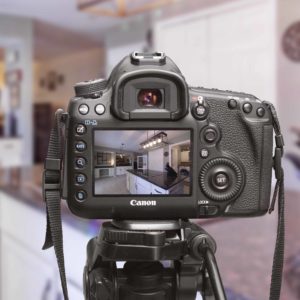
DSLR on a tripod
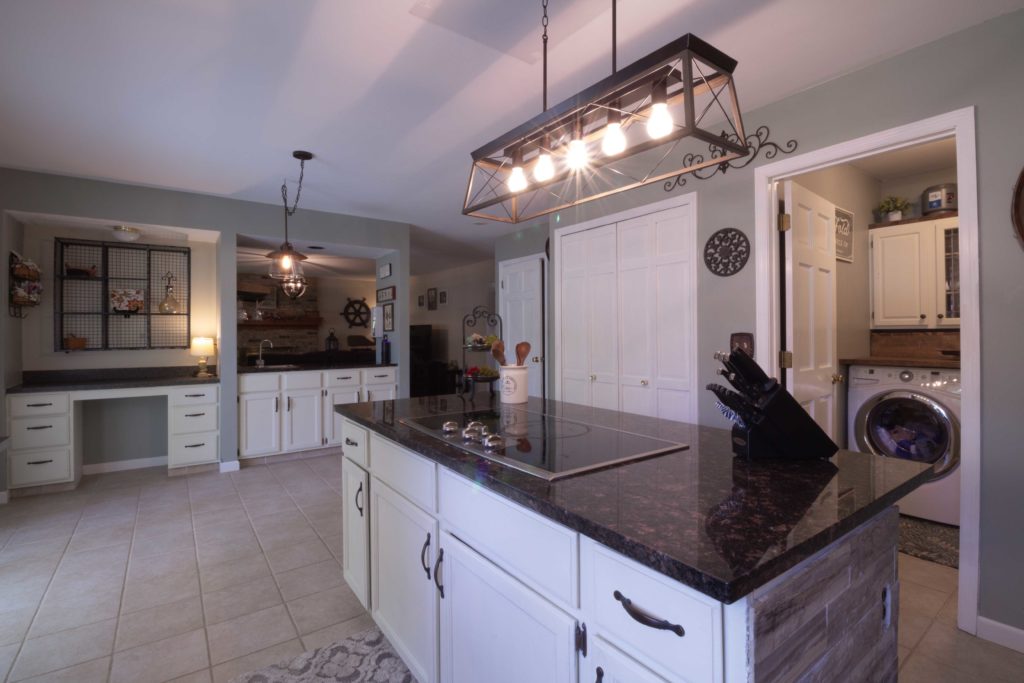
After taking the picture it will look too dark but that is where Adobe Lightroom comes in.
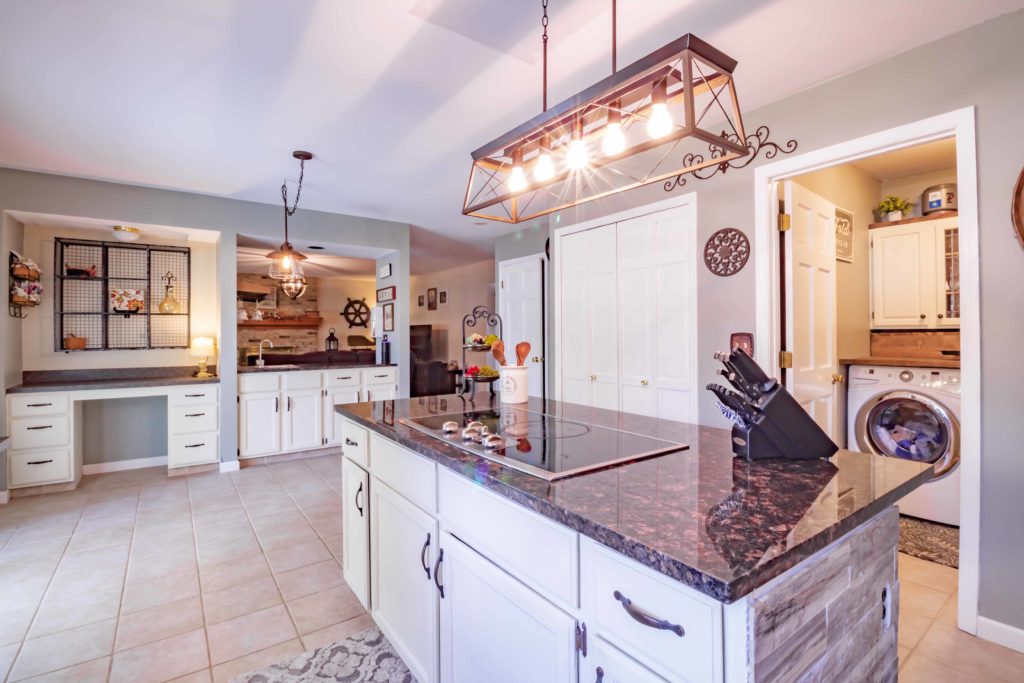
After loading the RAW photo file into Adobe Lightroom, I immediately remove the shadows, most of the blacks, increase the exposure to make the photo brighter, and then remove some of the haze. For most people this may be all they need to do to be happy with their picture.
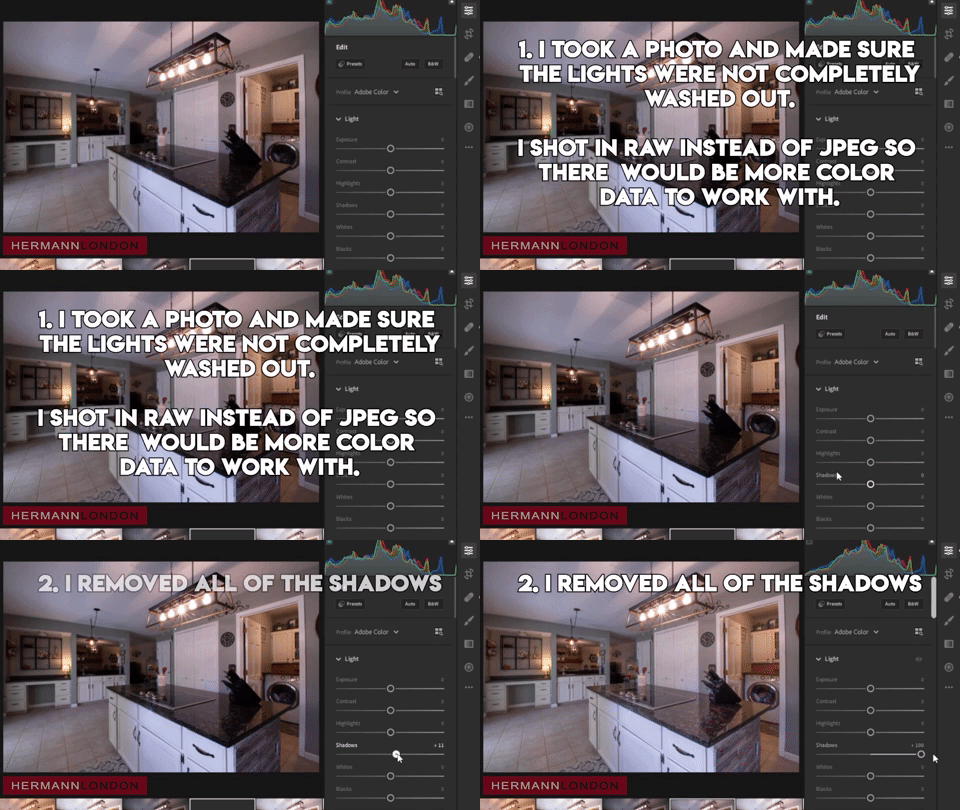
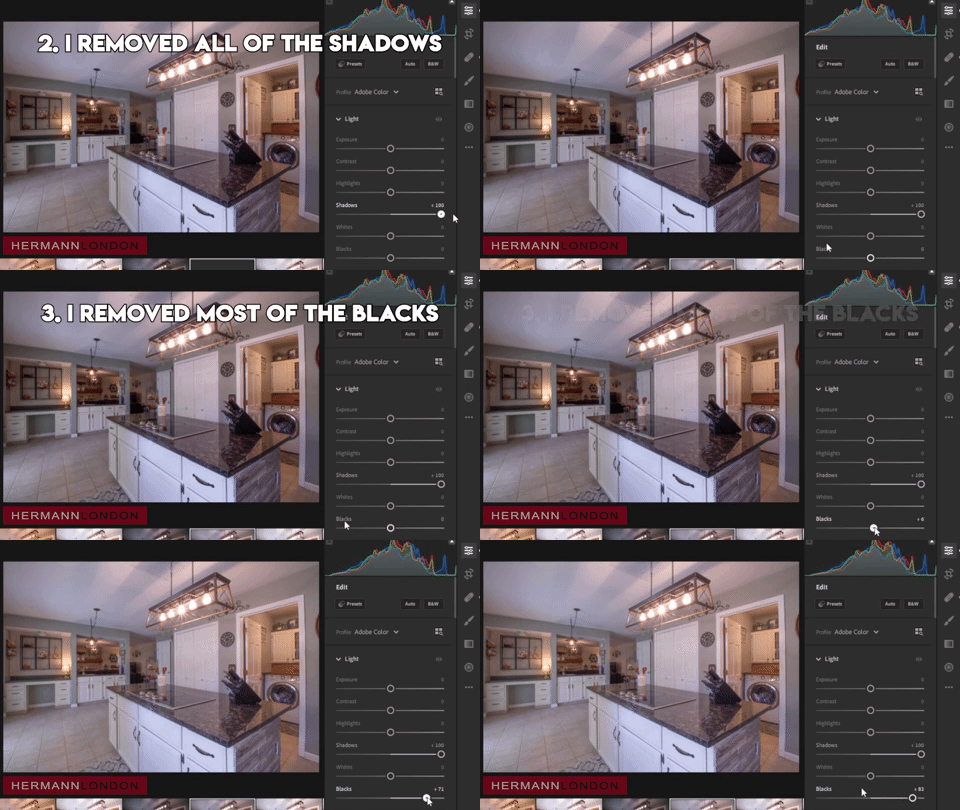
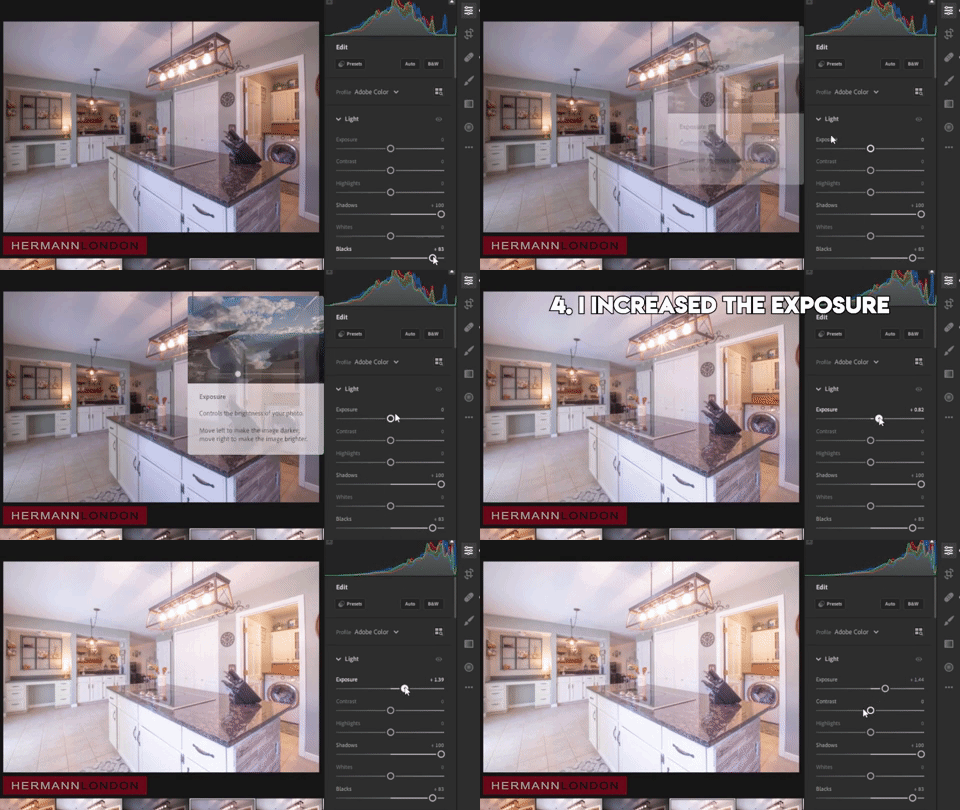
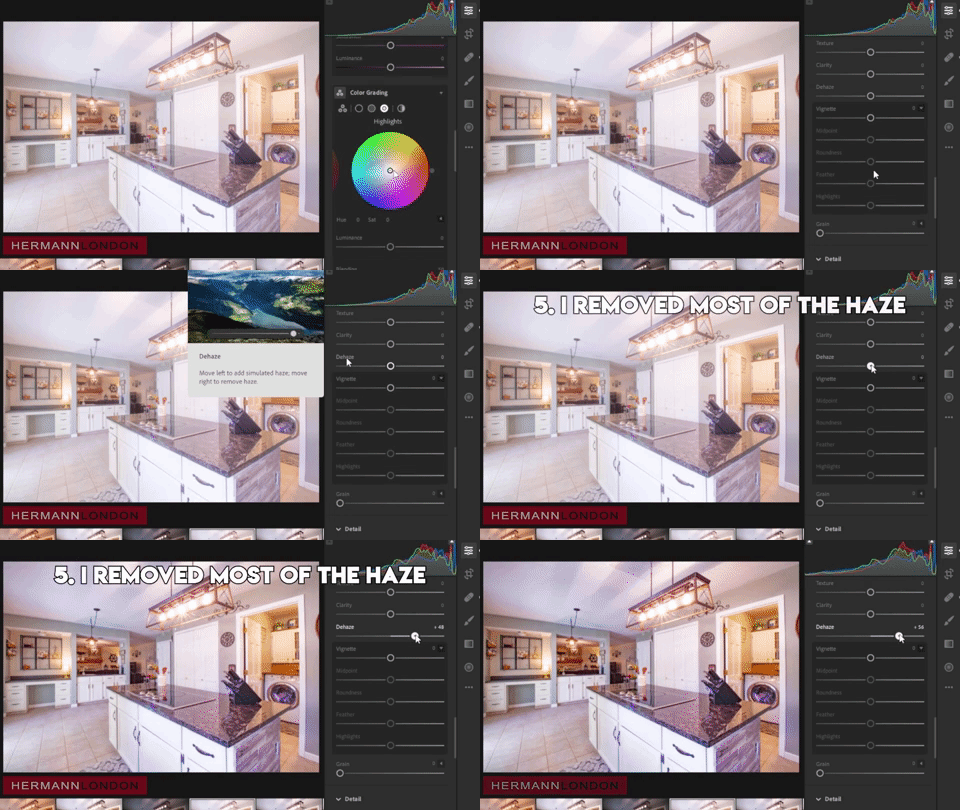
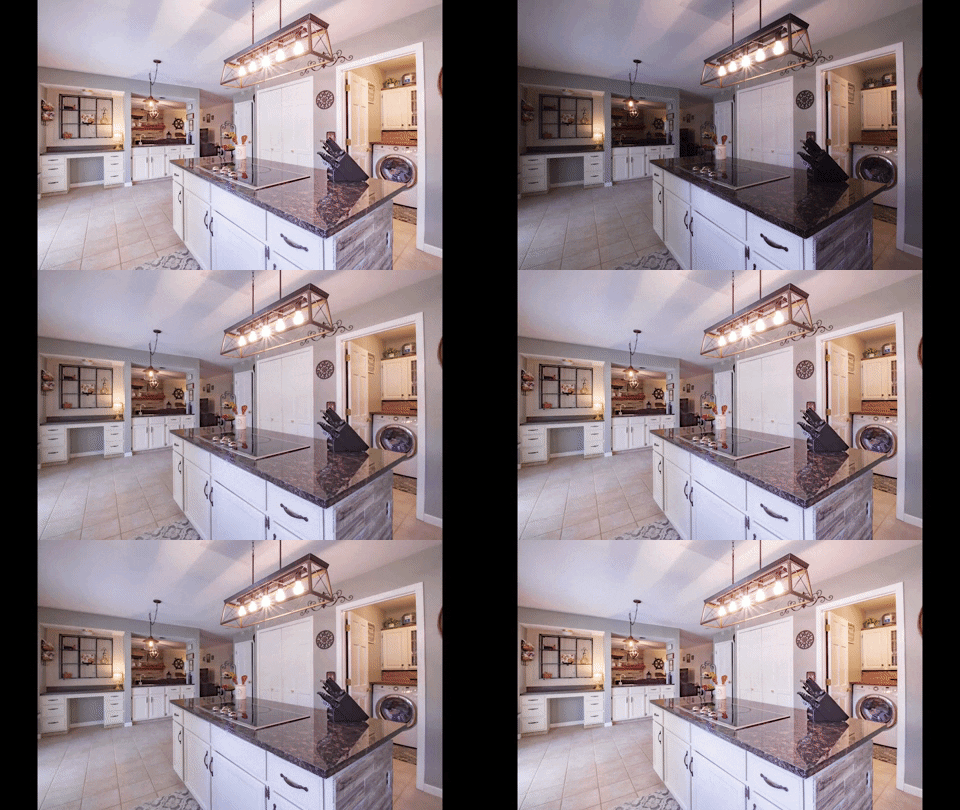
For this photo I also added some finishing touches by getting rid of the noise and removing some of the purple from the walls, both of which was as easy as adjusting the NOISE REDUCTION slider and then the SATURATION slider on the purples.
 CLICK HERE FOR PODCAST